Our walk across the fields back to the car was sober. We’d spent a good four hours on site,
but we were so awed by what we saw, we both knew we’d be back, despite whatever was going on
there. We discussed the banging noise, both agreeing there was no wind on this still
June day, and decided that someone was trying to get in. We didn’t want to meet whoever that was.
Later in the evening, sunburnt and relaxed after several celebratory beers at the local, I viewed
the photographs I’d taken. I reached a sobering conclusion: I didn’t like any of them; they just didn’t
capture the scale, size, or sheer wonder of the site. Even trying to photograph the buildings had failed;
these pictures simply refused to tell the story I wanted. My attempt to capture something of the day
was completely compromised. Sighing, I then checked out the aerial photographs of the site, and
worked out where we’d been. I realised that we’d only visited two
building on this huge site, and we’d barely scratched the surface.
The solution was simple: we had to return.
Looking back on this exploration, I realised we’d missed several key features of the buildings we’d visited,
and more importantly, could also explain why.
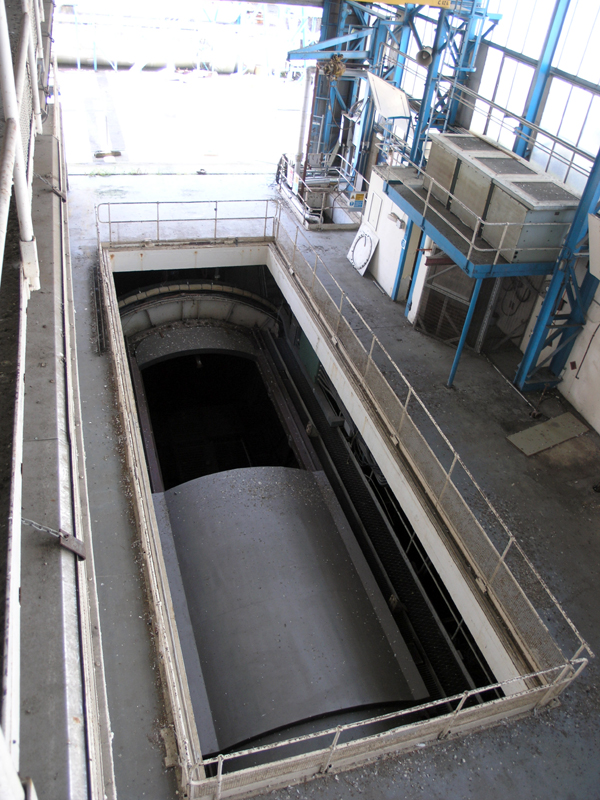
Our exploration had taken a circular route, first underground under Cell 3
and then into Cell 4.
How did we miss the classic interior cell shots of Cell 3? Firstly we approached the cell from the eastern
end, and then walked underneath the cell itself before popping up in the other Cell 3 building which is one
hundred yards to the east. So, we simply didn’t have the chance to peer into it, and see that you could get
inside. However, our subterranean route has since flooded, so we were fortunate to get those photographs.
Another half an hour in Cell 4 would’ve given us time to climb up high, and get the classic eastern and western shots of the cell itself.
All was not lost however, and I got these shots on later trips.
© Simon Cornwell 2007
See also: Pyestock Website.